Hi Everyone,
This is part 1 and part 2 of the recent post about the entry jib doors. I left you hanging last week because I was waiting for the center-hung pivot hinges to arrive. Wednesday, this place was humming with workers.
The stair railing was only about 45 minutes, but the rest of the work day was devoted to the main entry jib doors.
So, if you’ve read part 1, please click the link below, but if not, please begin from the top of the page unless you’d like to review.
Oh, there’s a short video I made in part 2.
Part 2 Begins Here
Hi Everyone,
This is a super important renovation update. It has to do with the main entry jib doors.
You know, the ones I MUST have.
First of all, for those who’ve never heard the term, a jib door is one that sits flush with the wall and does not have the typical door casing.
They can be built to open either inwards or outwards.
In addition to being flush, the door can be hidden through the clever use of flat stock moulding.
Other jib doors do have a visible seam where the opening is. Typically, there is a reveal of about 1/8″ to allow the door to open and close without interference from the door jamb.
I’ve talked about jib or doors sometimes called hidden or secret doors.(We looked at many here.) This sister post discusses hidden storage, usually behind a jib door.
However, the jib doors are not purely for selfish reasons. Over the years, I’ve been so appreciative when other people have paved the way to tell the rest of us how they did something concerning construction.
Oh, there are plenty of jib doors and different ways to build them.
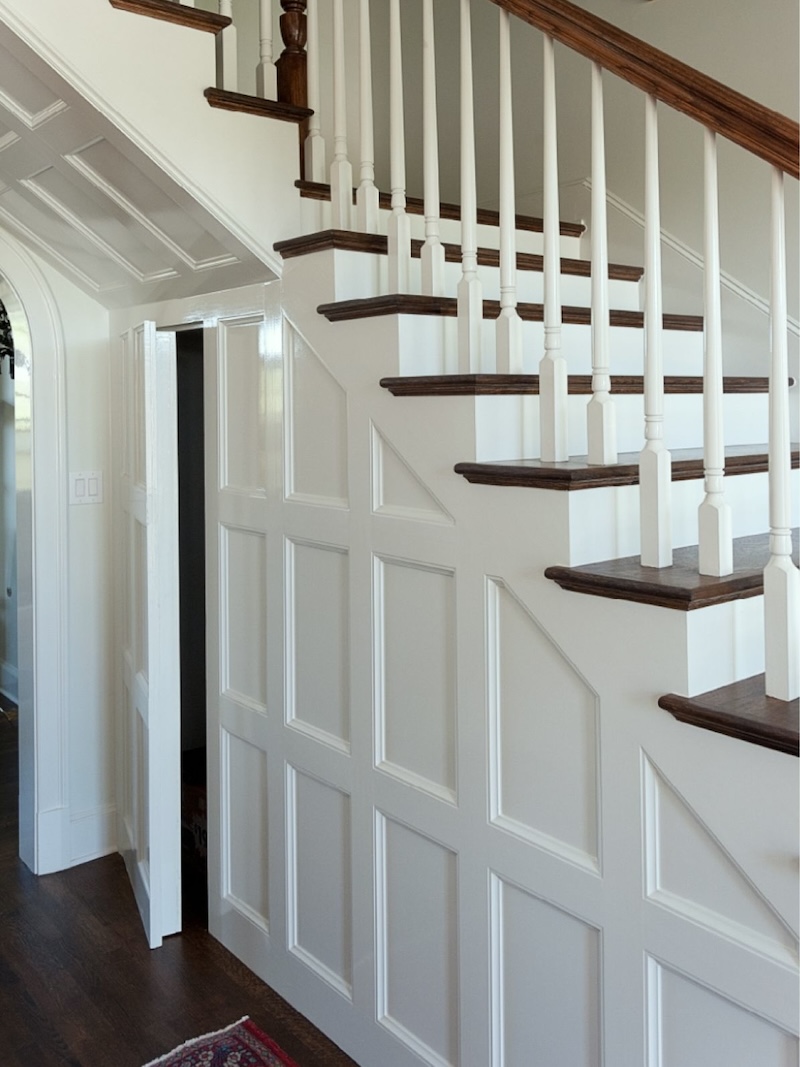
One way is how we did the under-the-stairs hidden doors. These will be entirely hidden behind the board and batten rails.
In the comments, it was asked why we didn’t do the push-type opening for the doors. We did that for the hidden doors in the kitchen flanking the range hood and for the little hidden doors in the bathroom. They’re completely built now.
However, the understairs door slightly overlaps the other door with the moulding, so a push only pushes it harder into the other door.

The doors under the stairs are done except for the hinges!
Therefore, for the understairs secret doors, we need to put in a little handle routed into the stile like we talked about in the last post. However, we’ll do it on the side closest to the wall, so it won’t be seen unless one gets right on top of it.

My bathroom doors with a push-to-open mechanism.
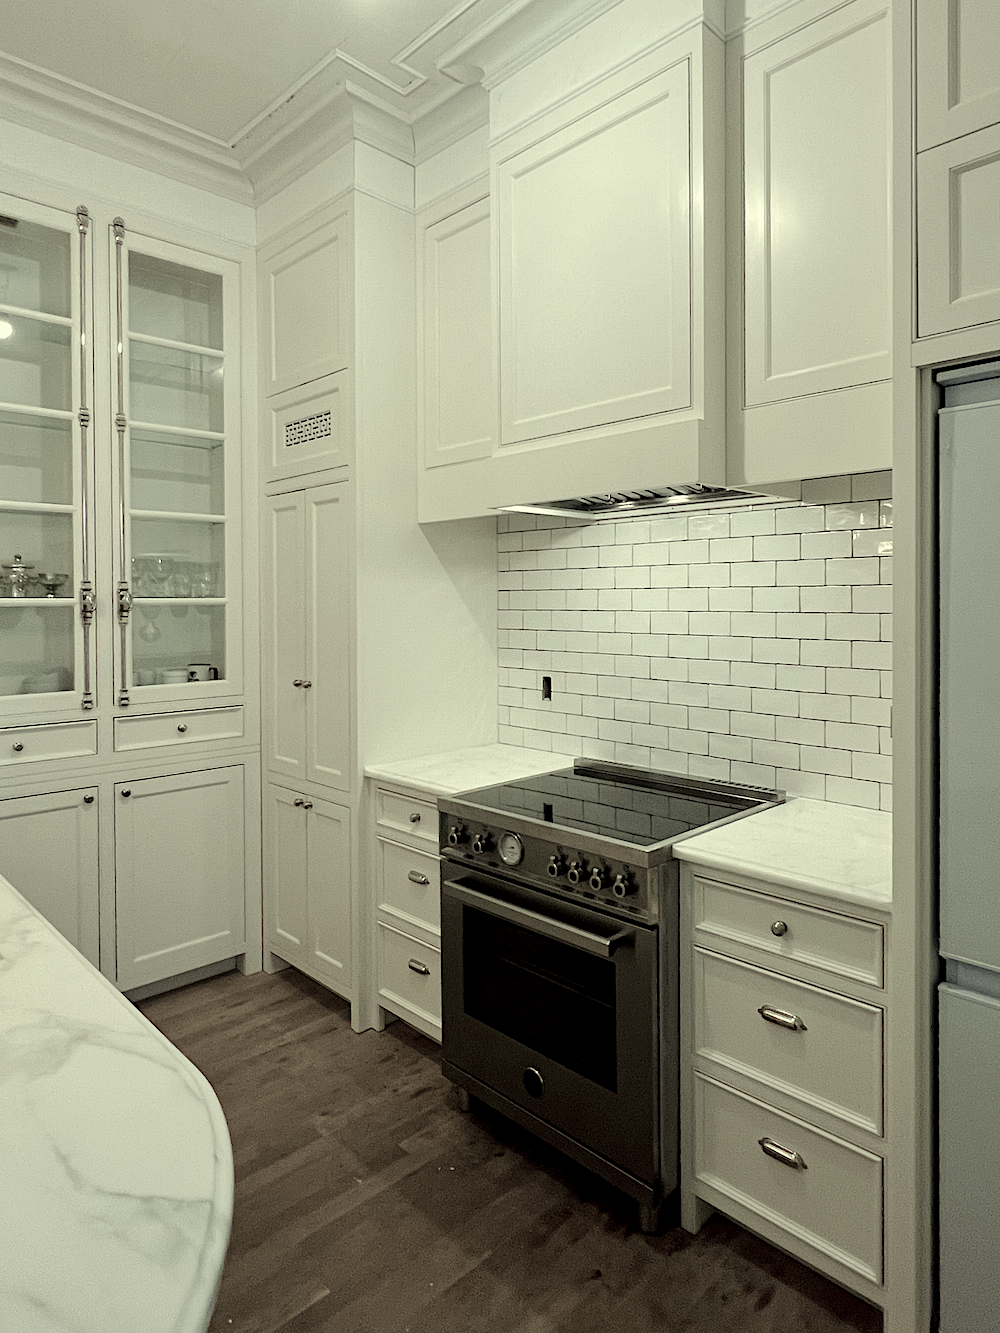
Above is the kitchen before the tile was grouted. However, you can see the secret doors flanking the range hood here. They are also push-to-open, similar to the little bathroom doors.
So, back to our entry jib doors.
One major problem makes them a nightmare to figure out unless one is highly experienced in engineering these highly specialized doors. Even the guys selling the hinges couldn’t give me all the information needed.
Well, it’s actually two problems.
One, is the door is a closet door and needs to open out. That wouldn’t be a problem except for the wainscoting (chair rail, panel moulding, and baseboard) covering the door. The wainscoting wouldn’t be a problem if the door opened in, but it sure as heckfire is if the door opens out.
Well, that is, if you care to be able to open your door more than an inch.
Gorgeous panel moulding with a wonderful hidden jib door.
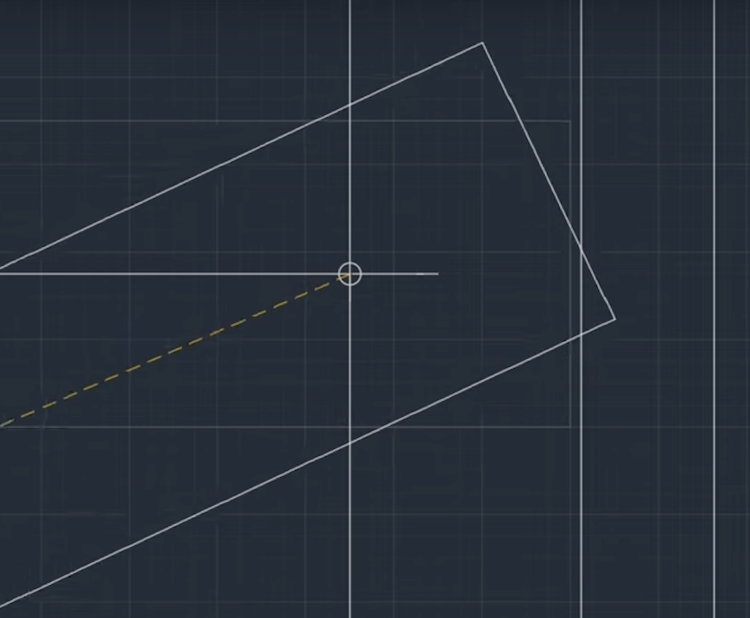
See the problem?
No, Laurel, all I see are a bunch of lines.
Oh, sorry. This is a bird’ s-eye view of a door jamb on the right and a pivot door hitting the jamb as it opens.
I got these images from an excellent video on YouTube.
They want us to do this to the edge of the door.
Well, that’s bloody weird. And now we have a massive gap between the jamb and the door.
Laurel, I don’t understand. You’ve spent hours designing this. Didn’t you hire professionals to help you realize your vision?
Haha. Please, you must stop making sense!!!
Yes, I hired professionals who’ve never done anything like this and don’t care to learn how either. They know how to build, for sure, and mean well, but there are limitations I have to work around.
However, this is our last big hurdle. It’s a doozy, but I’m determined to do it and then explain in detail how regular folks can do this, too.
Okay, I did find an explanation, but please take something first for the headache you’re about to have.
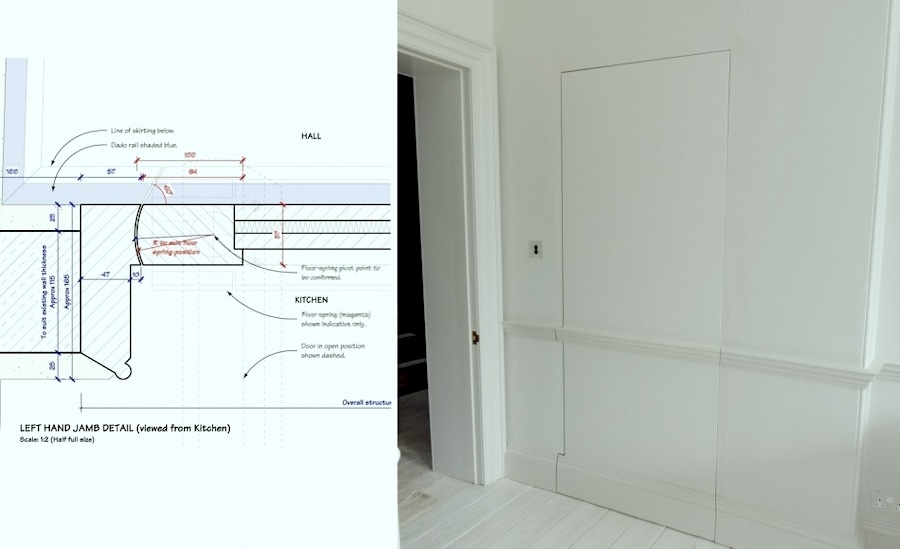
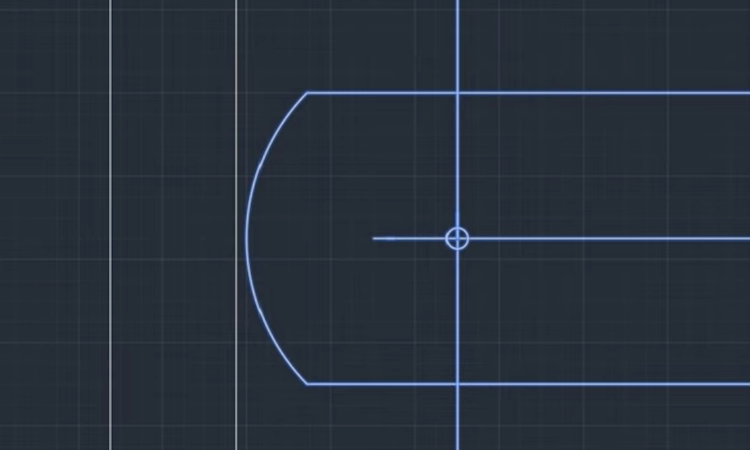
Okay, I’m reasonably experienced in reading architectural drawings and did many when in design school. However, I only understand half of this drawing. That thing at the bottom is a mystery. I also don’t know how it relates to the jib door on the right. I get the 45-degree angle cuts, but that still doesn’t help get the door past the jamb with a center-hung pivot hinge.
By the way, I did purchase offset pivot hinges that are even more complicated. I’m sending them back.
Okay, we are going to continue this on Monday evening.
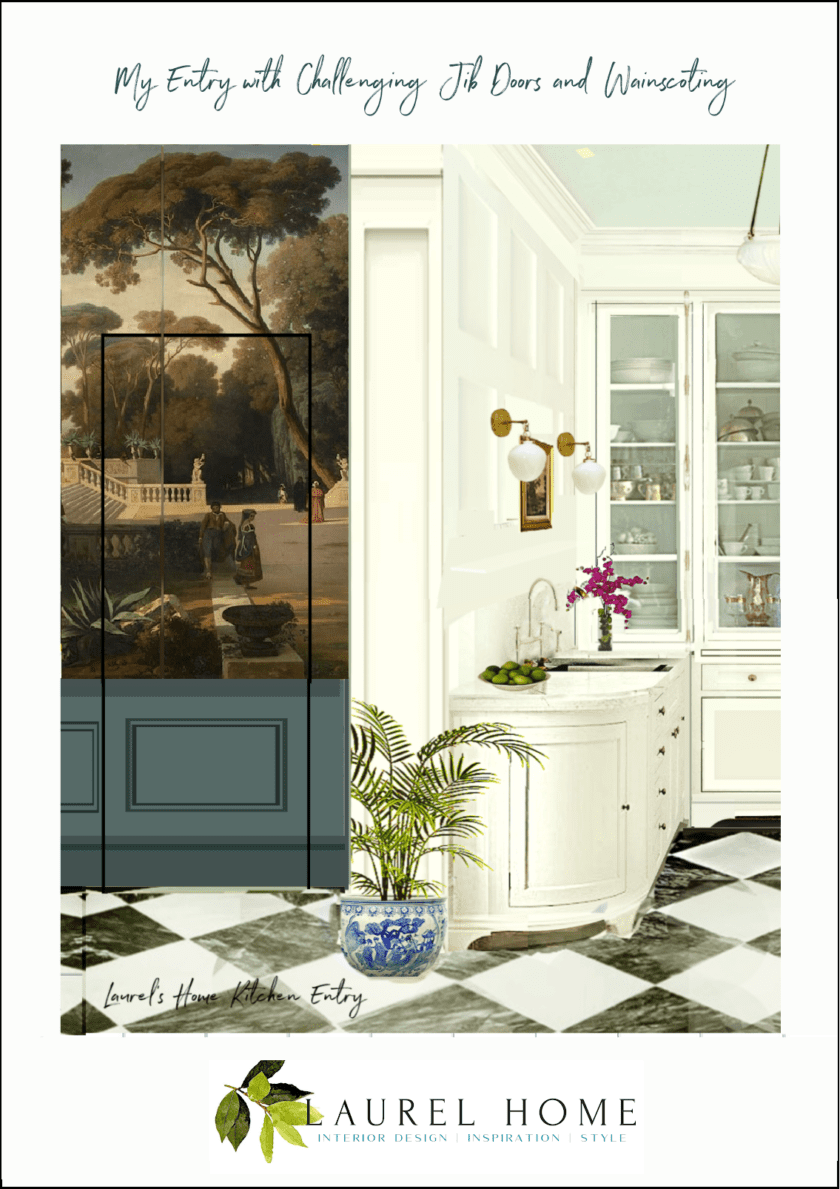
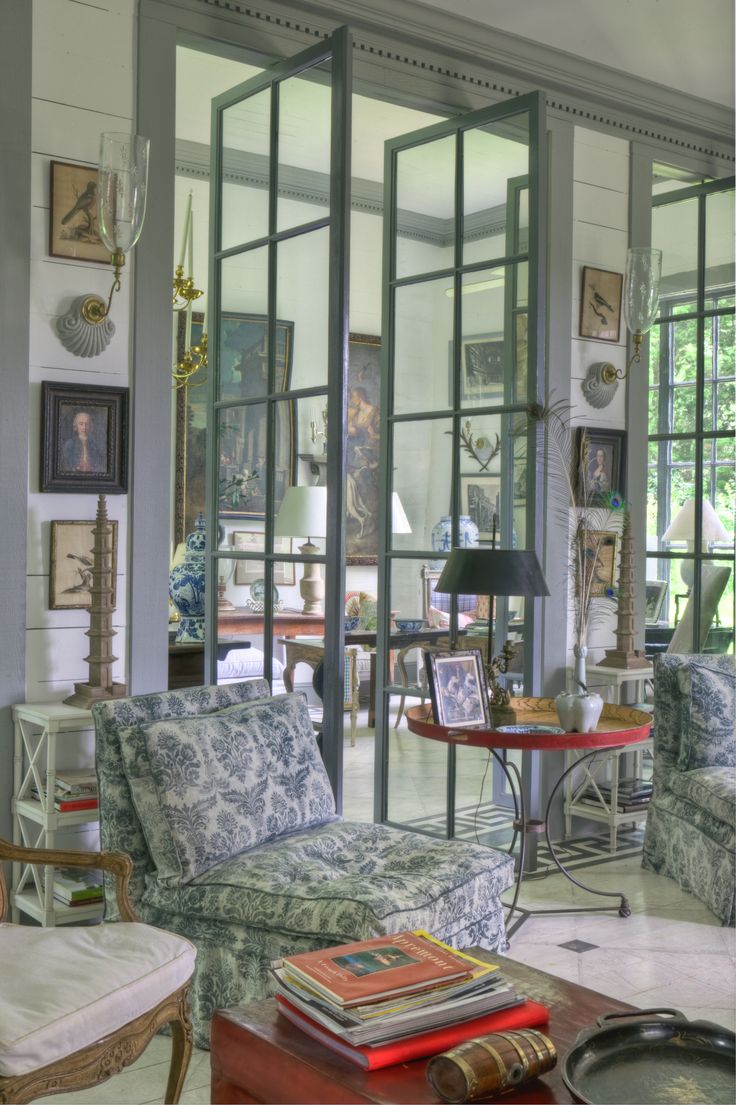
However, I will leave you with a little inspirational image of what I’m trying to accomplish.
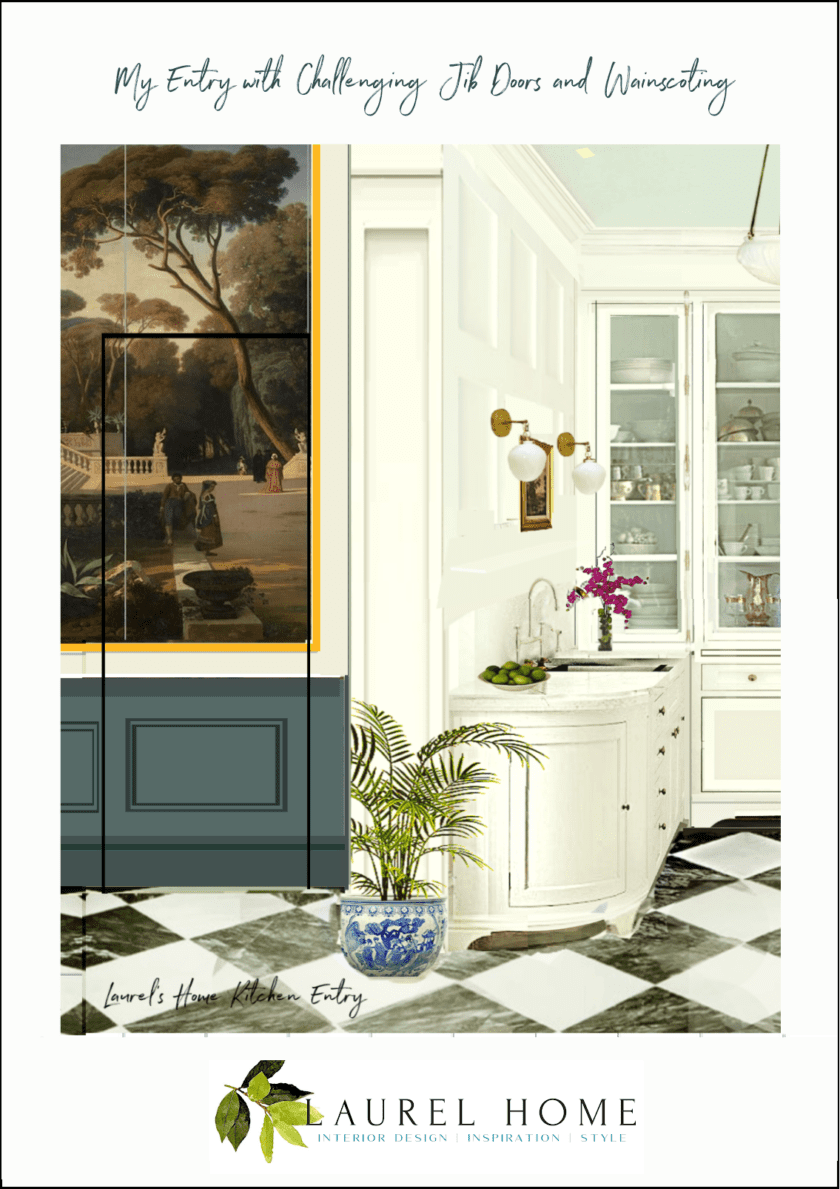
The frame won’t be that bright, but I wanted it to show up so you can see the placement.
We could also do it without the frame as below.
I haven’t done so, but I will try, on Monday, the nice architect Tim Burke, whom I worked with last year, to see if he can help the guys build these doors. He was quite knowledgeable about the embrasure doors, so maybe he can help out with the jib doors.
Okay, on Monday, I’ll share several examples of doors opening with applied moulding. There is more than one way to do it, and some are more successful than others.
There will also be news about the bathroom floor
xo,

*********************************************************
Part 2 Begins Here
Hi Everyone,
Oh man, what a week! However, I have some excellent news.
Not only are the under stairs complete, but so are the jib doors. (minus the wainscoting)
The hinges arrived on Wednesday, and the guys got to work on Thursday and finished yesterday.
Well, they finished the doors yesterday. We discussed at length how the moulding would work. However, none of it was attached.
So, how did the guys do?
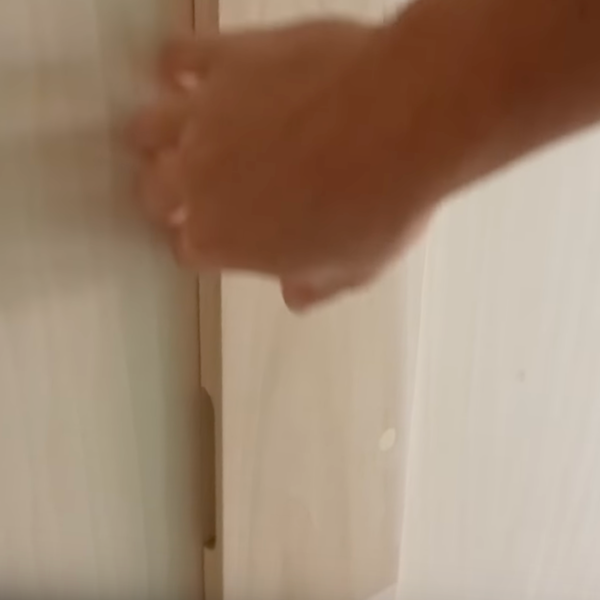
Below are the two jib doors newly installed as of Friday around 1:00 PM. Please bear in mind that the big crack you see will get filled. That is part of the door jamb, not where the door opens.
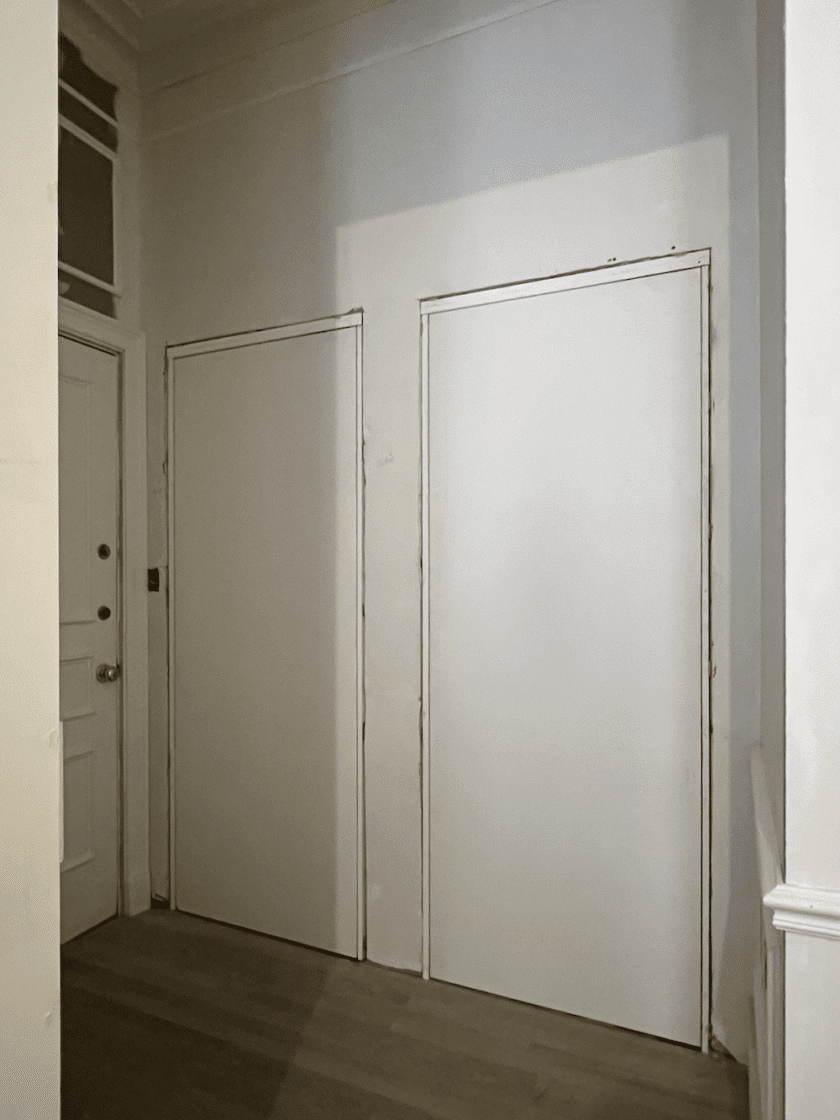
In fact, so as not to be confused, I covered up the cracks that are getting filled in so you can see the barely visible reveal around the door where it opens.
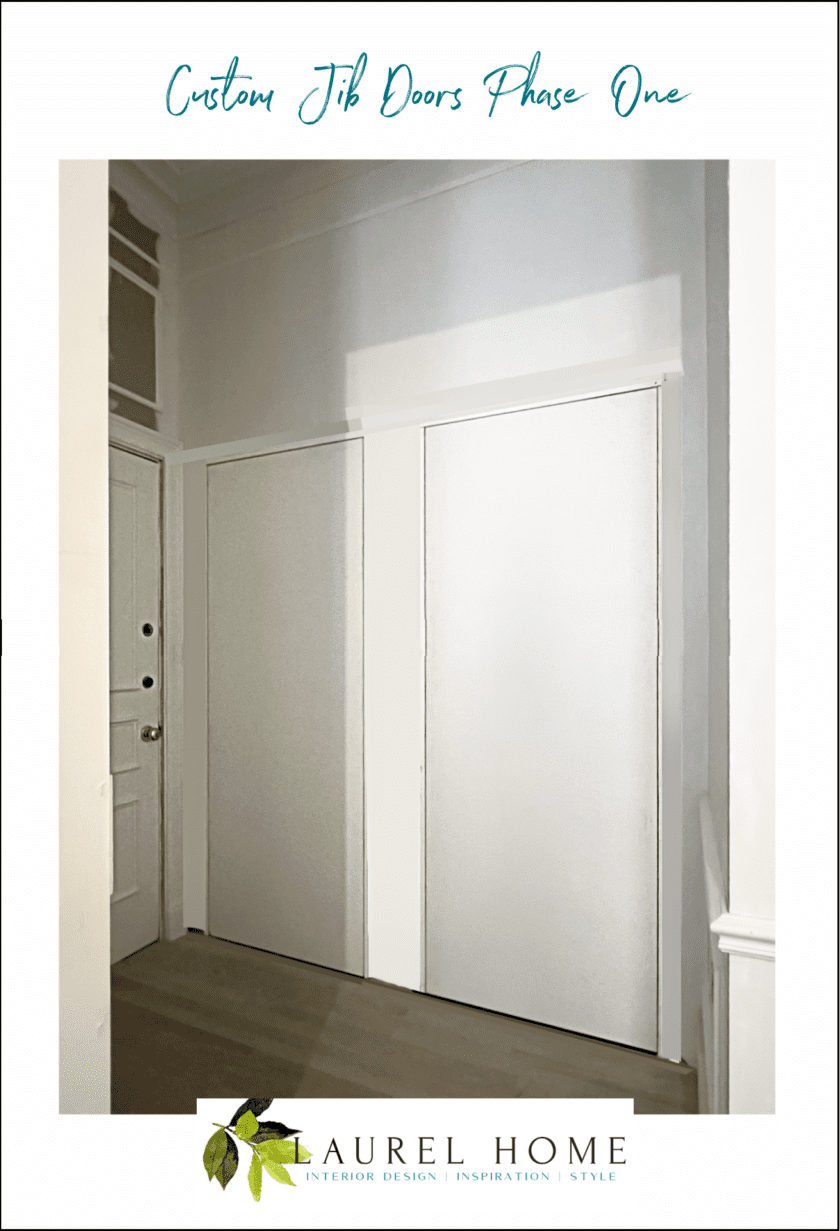
Yep, folks. It’s a 1/8″ inch reveal, barely noticeable from a few feet away.
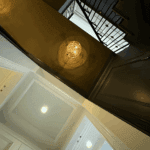
Please enjoy this brief video of one of the doors opening and closing.
For those who doubted, do you see now that these are master carpenters? Give them the correct hinge and a drawing, and they can build it.
This is the baby that works like a charm.
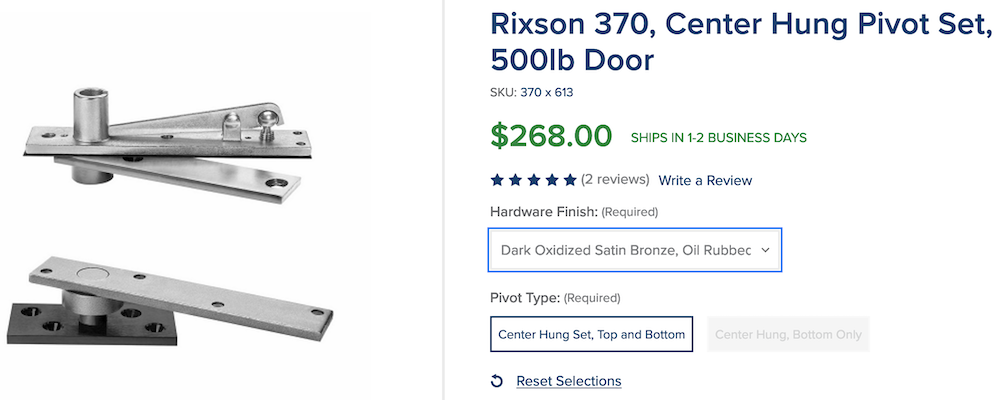
It’s the Rixon 370 top, and bottom center hung pivot hinge.
I didn’t realize until recently that center-hung doesn’t necessarily mean in the center of the door width-wise. It can be hung from the center to two inches from the door jamb. If the pivot point is further in, it will be like Furlow Gatewood’s magnificent pivot doors.
What center means is in the center of the door depth-wise.
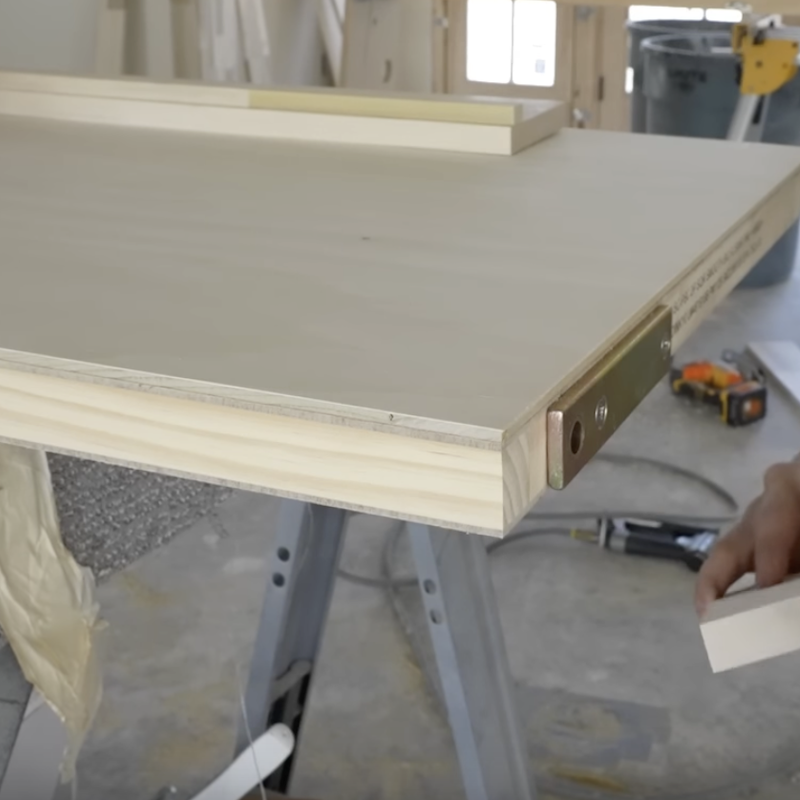
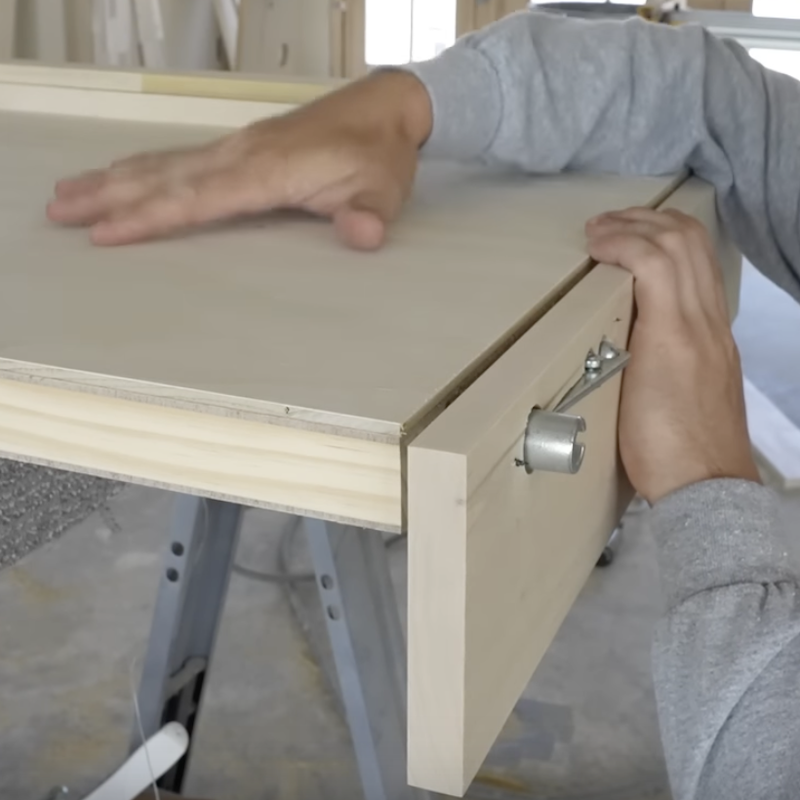
Yuck. Door number two was on a couple of saw horses and I got pics of the bottom mechanism mortised into the door, but forgot to take the top part. That one isn’t as interesting.
However, I took some screenshots off the video I shared here.
Above is the door pivot hardware
Above is the jamb hardware.
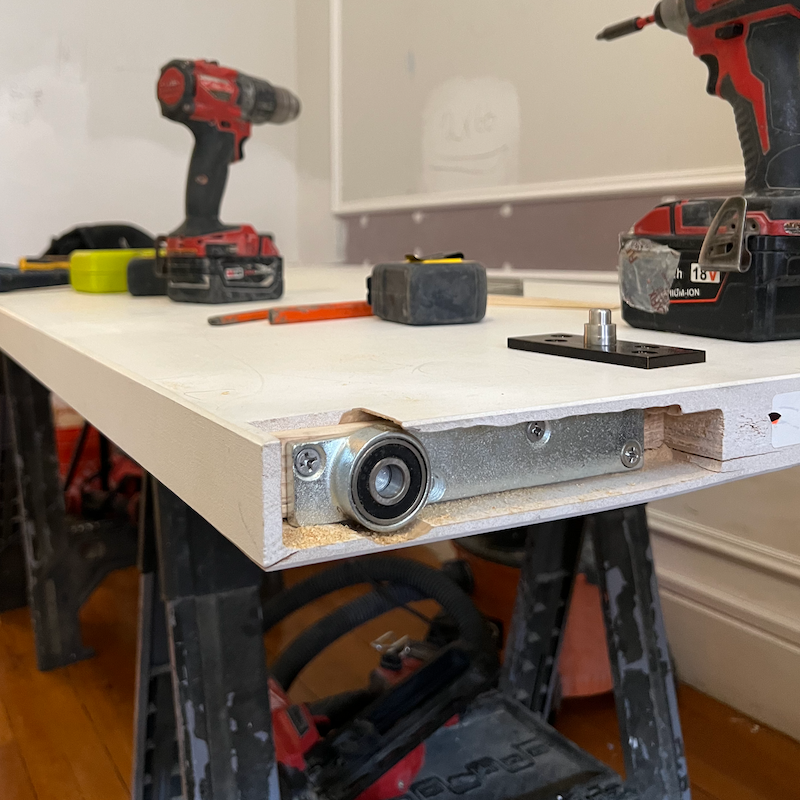
And this is the bottom door pivot (minus the floor piece). But, but, but… This is not normal, and the reason is that the door was machined to accept OFFSET PIVOT HINGES. That is what the door guy said we needed, but that hinge isn’t for jib doors, as the hinge isn’t completely concealed. This is why the guys struggled before Brendan went on vacation a month ago.
Laurel, what about the door jamb? Did you have to make it concave, like in those drawings?
No, Brendan did something else, but I will save it for when we look at how the mouldings are done. Hopefully, that will be happening on Monday.
Well, Laurel, it sure looks like it’s smooth sailing from now on. Congratulations.
Ummm… thank you, but not so fast. Yes, the building part should be smooth sailing. But something else happened while I was distracted by the stair railing, jib doors, and Mahjong on Wednesday and Thursday.
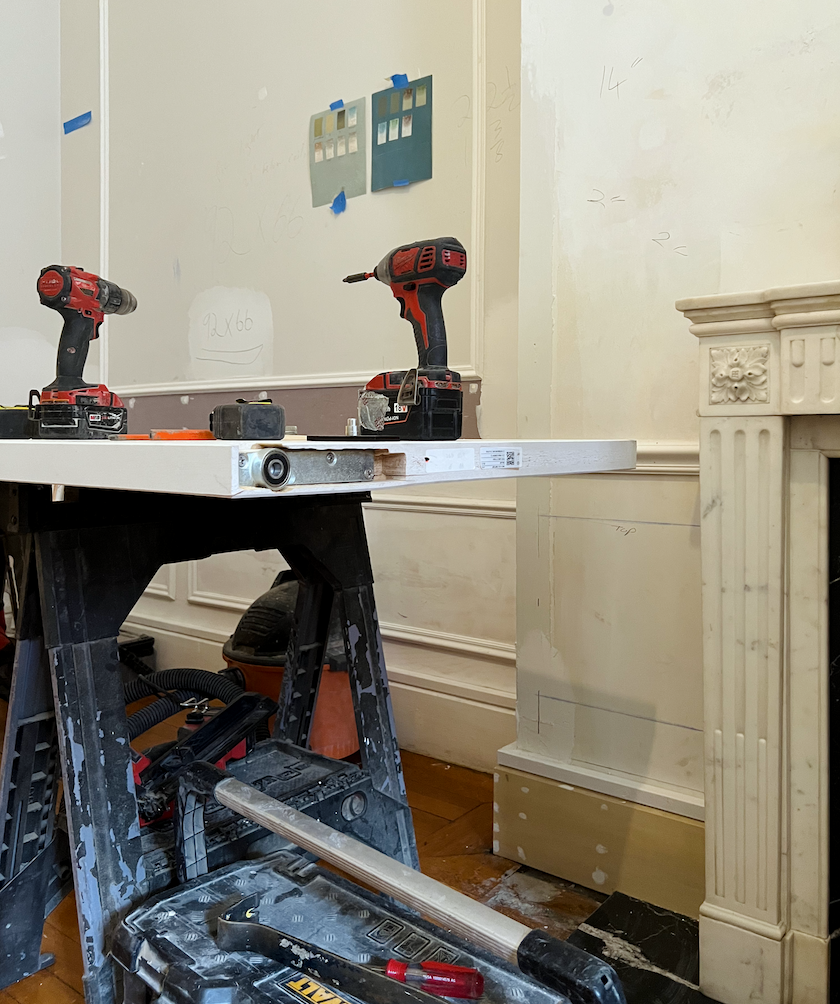
This is a clue: There is a work table in the living room with drills, buzz saws, hammers, etc.
Oh, Laurel, they didn’t wreck your gorgeous mantel, did they?
No, they’d be having funerals next week if they did.
It was something else… And you guys are some of the smartest folks on the planet, so you probably can guess what disaster happened that is so infuriating I just can’t right now.
However, please, a few of you think I’m not assertive enough.
Haha. You don’t know me very well, then.
Still, I’m not perfect, and neither is anyone else. However, it’s foolish to make sweeping assumptions based on the tiny snippets I share with you. I’m encouraging all of us to be kind and supportive of each other.
xo,
***Please check out the newly updated HOT SALES!
There is now an Amazon link on my home page and below. Thank you for the suggestion!
Please note that I have decided not to create a membership site. However, this website is very expensive to run. To provide this content, I rely on you, the kind readers of my blog, to use my affiliate links whenever possible for items you need and want. There is no extra charge to you. The vendor you’re purchasing from pays me a small commission.
Please click the banner below.

To facilitate this, some readers have asked me to put
A link to Amazon.com is on my home page.
Please click the link before items go into your shopping cart. Some people save their purchases in their “save for later folder.” Then, if you remember, please come back and click my Amazon link, and then you’re free to place your orders. While most vendor links have a cookie that lasts a while, Amazon’s cookies only last up to 24 hours.
Thank you so much!
I very much appreciate your help and support!
Related Posts
 Architectural Details That Will Elevate Your Rooms – Parts 1 & 2
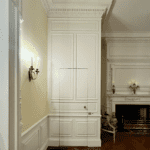 Happy One-Year Renovation Anniversary + Lots of News!
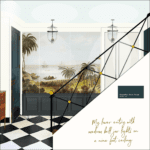 Laurel’s Home Renovation 2024 – News & Deets!
 Renovation News and Deets!
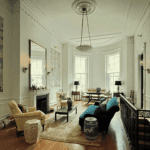 16 of My Favorite Benjamin Moore Timeless Colors (parts 1, 2 & 3)
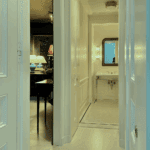 My Bathroom Design– Architecture, Lighting, Vanity, & More Parts 1&2
 14 month Renoversary! and I’m Back In My Bedroom!